
Splunk Dashboards
deviceTRUST includes a Splunk app to easily create a Splunk dashboard to monitor the contextual status of your remoting and DaaS environment.
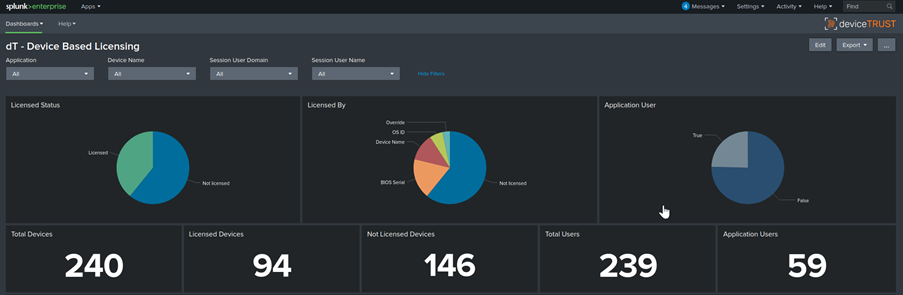
The License Compliance Templates can be used with the Splunk app to monitor or enforce Device-Based Licensing requirements for one or more applications:
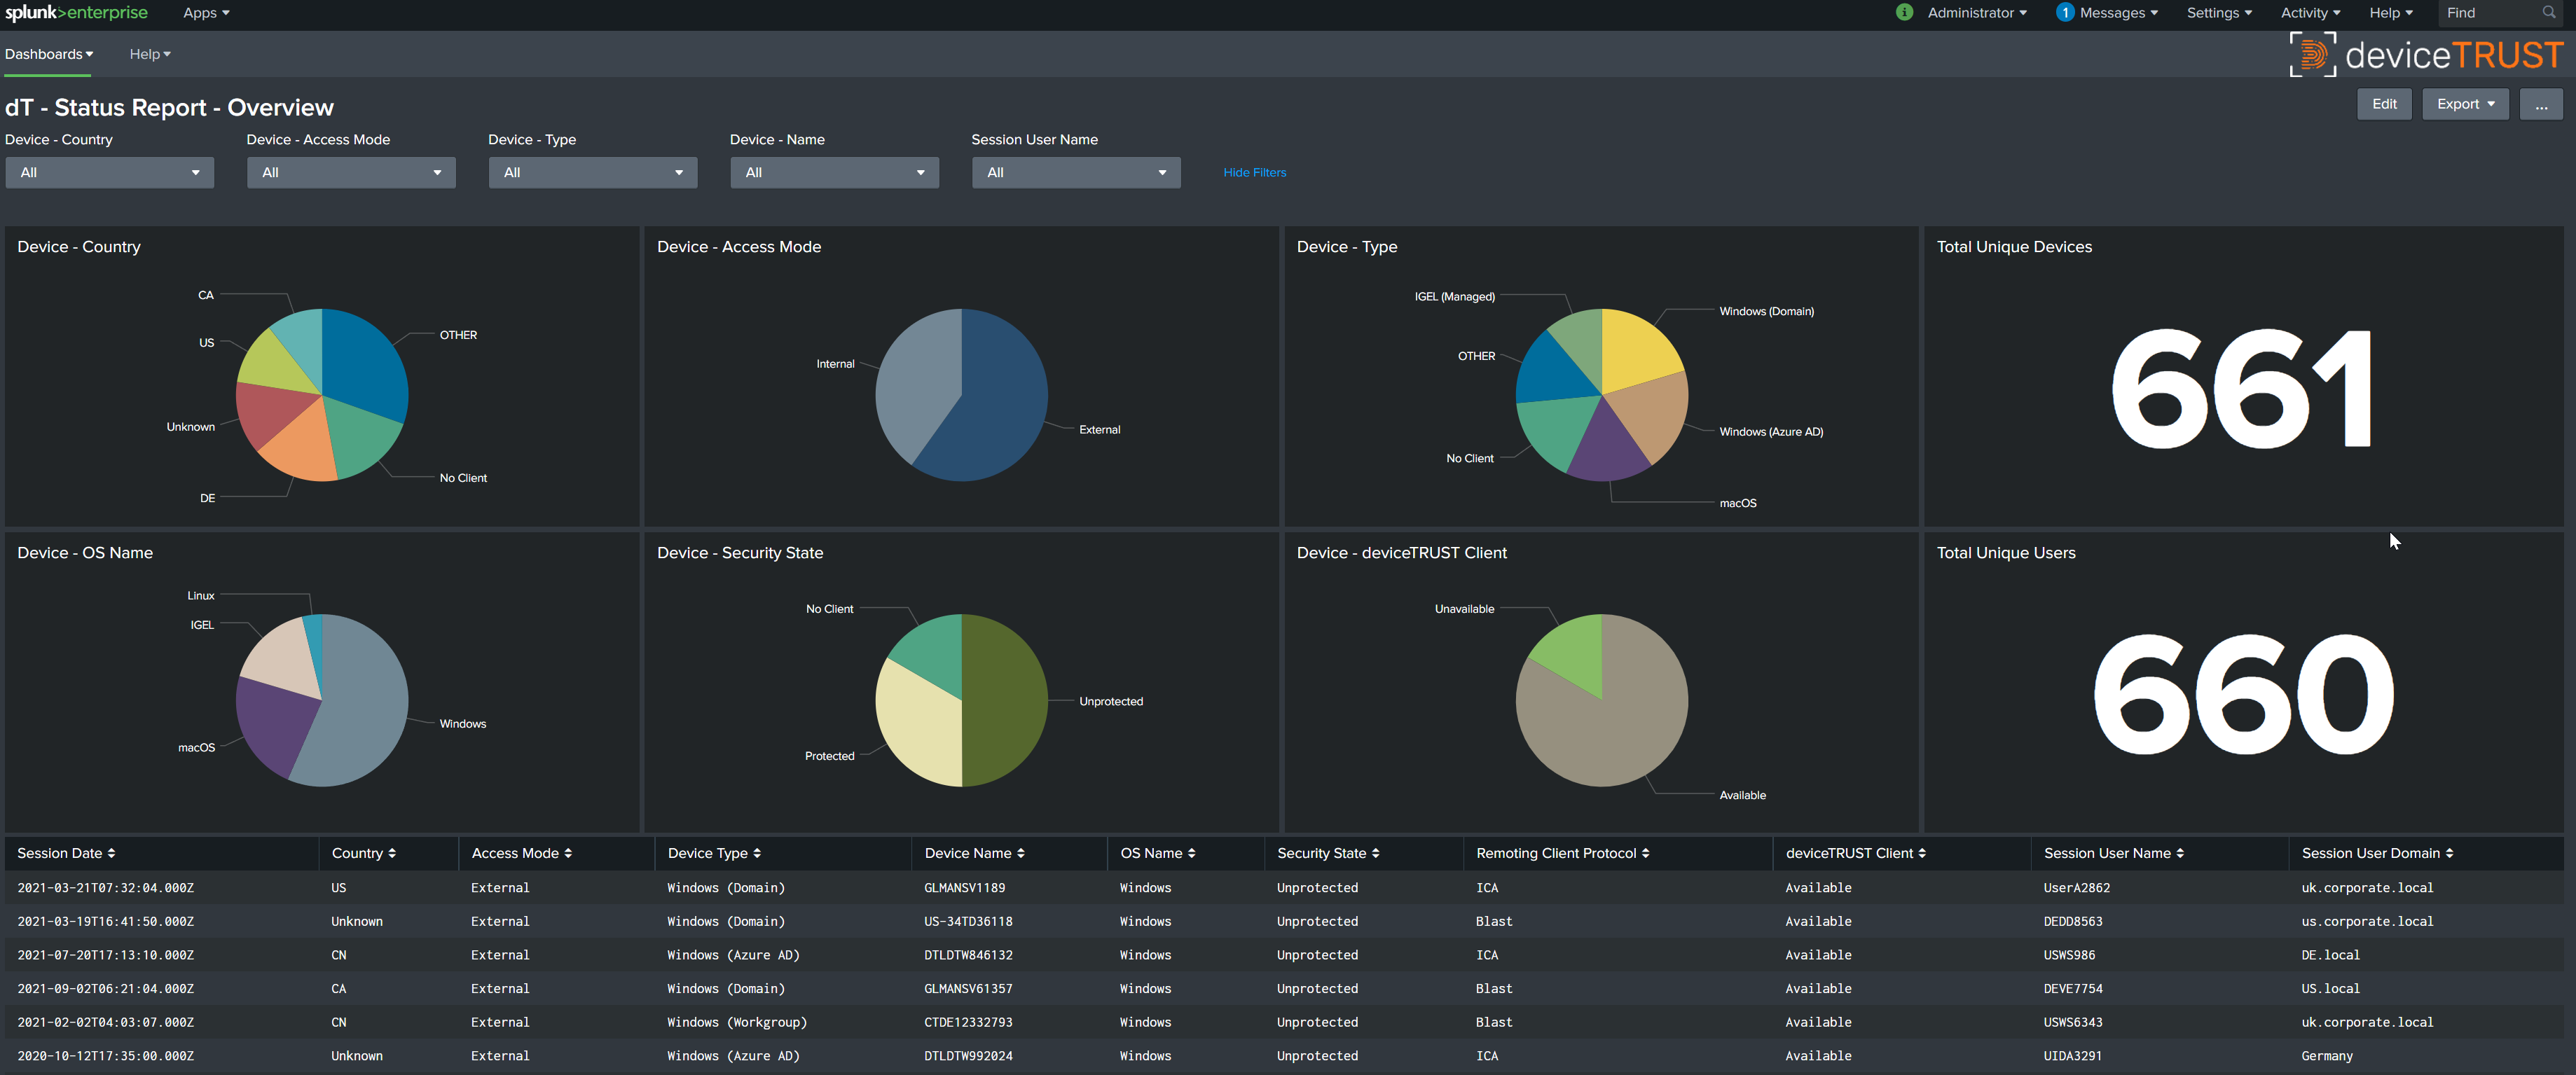
The Splunk Status Report Template can be used to monitor the status of your remoting and DaaS environment:
The following steps will be performed:
- Step 1: Creating the Splunk Index
- Step 2: Creating the Splunk Data Inputs
- Step 3: Importing the Splunk app
- Step 4: Configuring deviceTRUST
Step 1: Creating the Splunk Index
Splunk collects data in indexes which holds the log data and make it searchable. There are different methods for working with indexes. Data can, for example, flow into one common index. Alternatively, multiple indexes can be created, one for each use case or scenario.
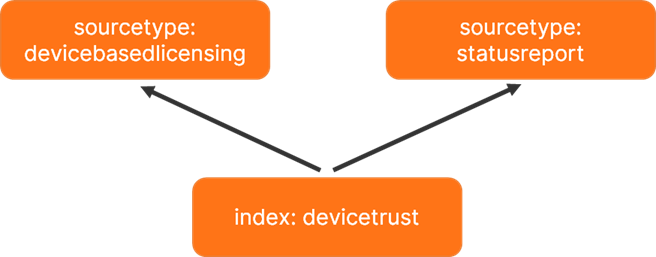
The deviceTRUST reports use one common index devicetrust for storing the data. The separation for the different uses cases is done by applying sourcetypes devicebasedlicensing and statusreport.
Our deviceTRUST reports are built on the described combination of index and sourcetypes. If your implementation differs, the reports will have to be adjusted accordingly. Make sure to let us know, we’ll happily assist.
You can either create the index devicetrust manually or by importing our prepared app dt_index.
Step 1.1: Manually creating the Splunk Index
Implementing the index manually does not require any special configuration.
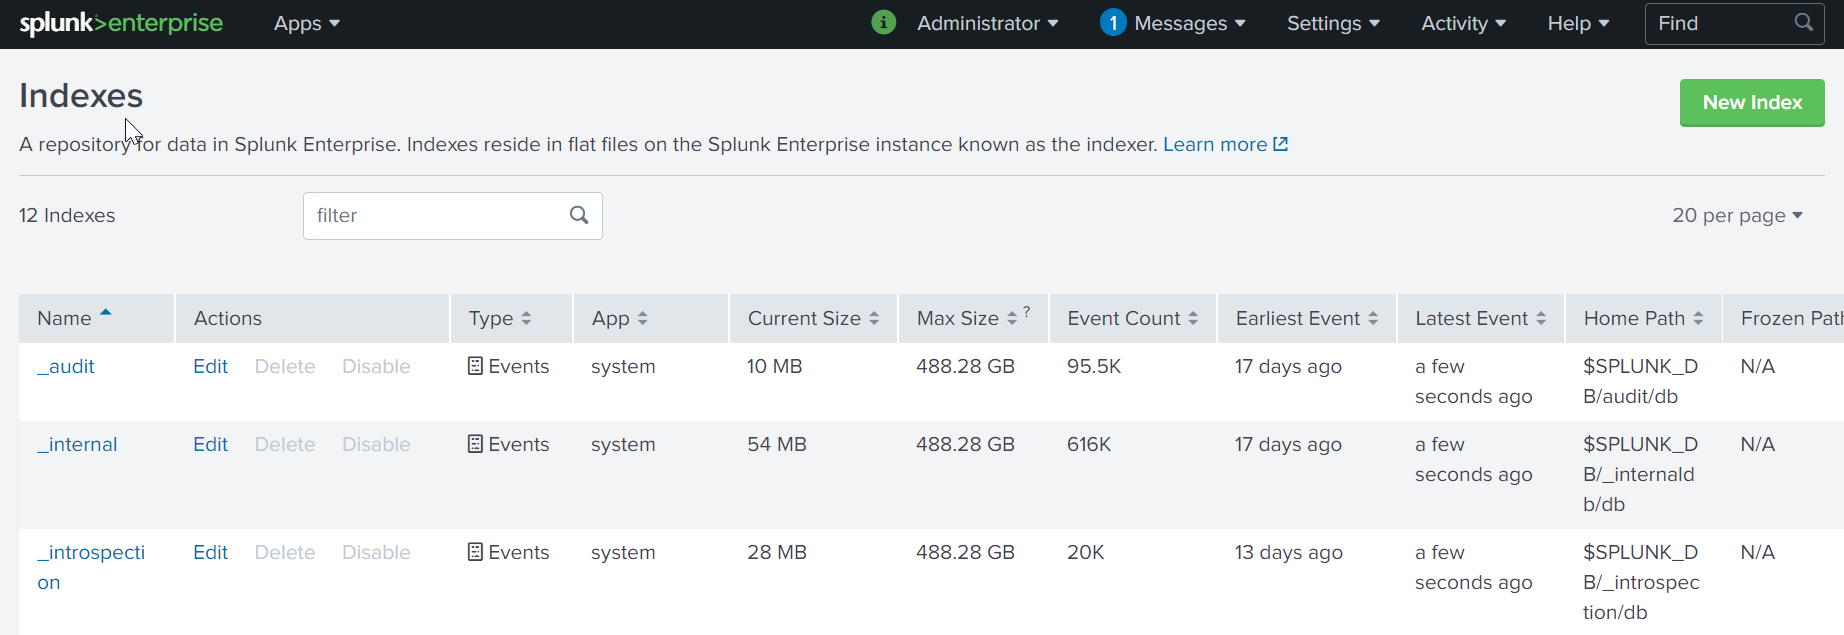
- Open your Splunk management GUI
- Navigate to
Settings\Indexesand clickNew Index.
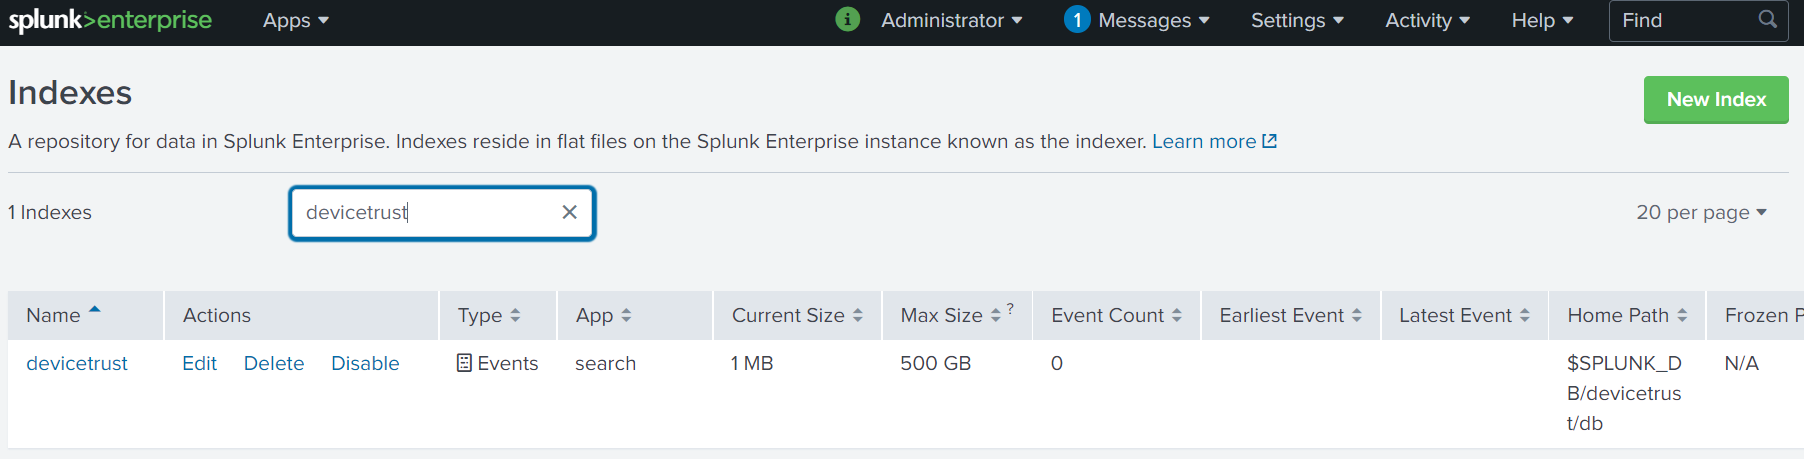
- Set the name to
devicetrustand all other options are optional.
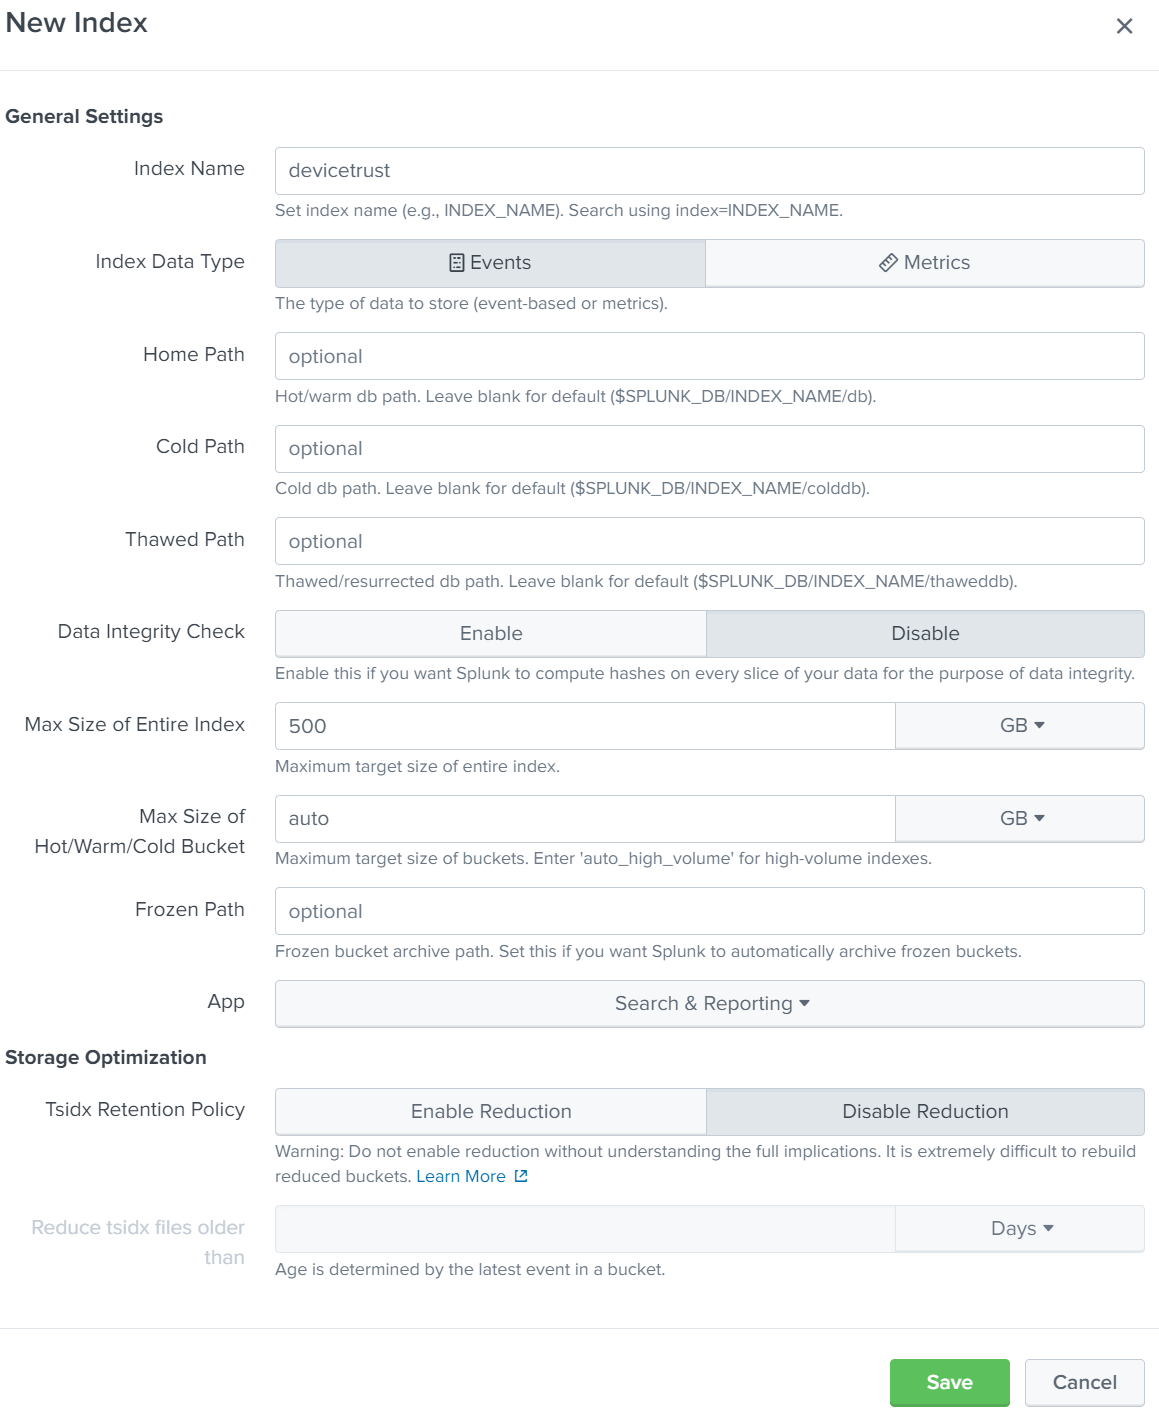
- Click
Saveand the index will be created.
Step 1.2: Creating the Splunk Index by installing the app
To create the index from the app, please refer to Step 3.2: Installing the Splunk app within this guide. The app dt_index does not contain any elements besides the index definition for the index devicetrust.
Step 2: Creating the Splunk Data Inputs
Data is sent to the Splunk server by using REST API calls. Splunk needs to be configured to accept http-based inputs. An authentication token is generated, that will be added to the deviceTRUST Console configuration later.
- Open your splunk management GUI and navigate to
Settings\Data Inputs.
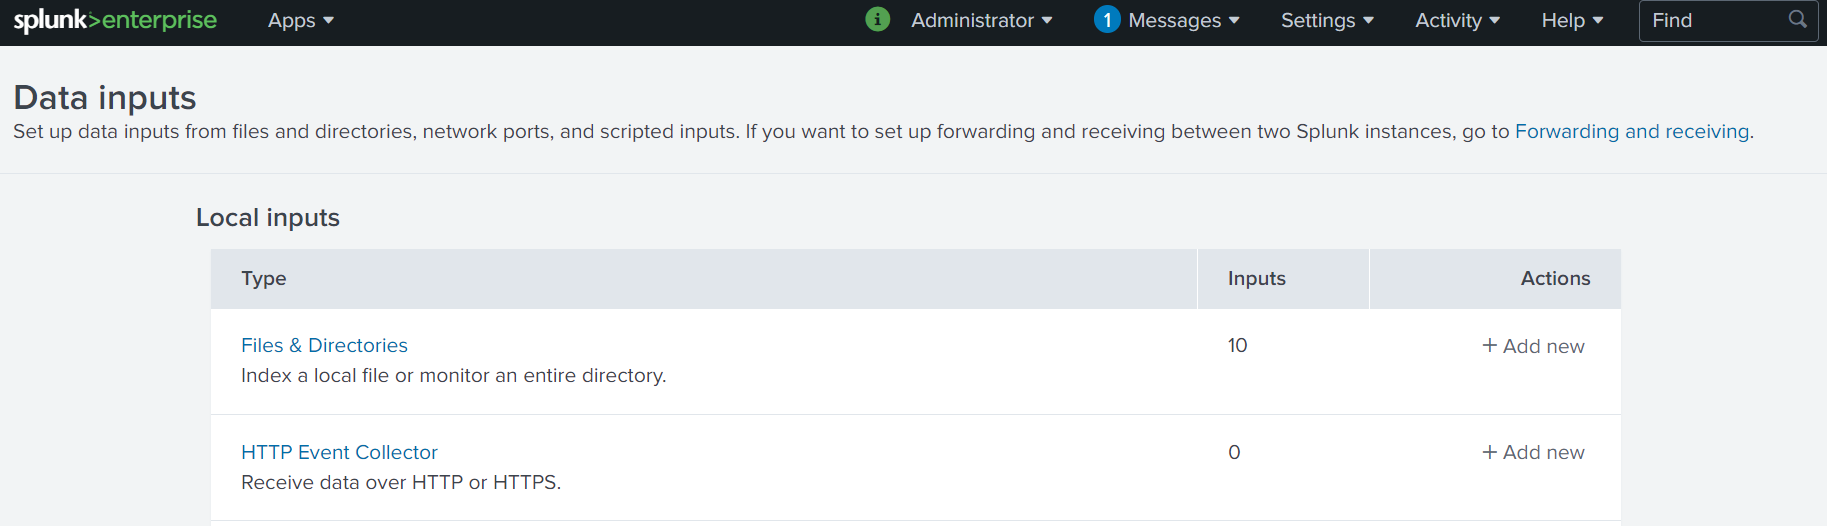
- Select
HTTP Event Collector - Click `New Token
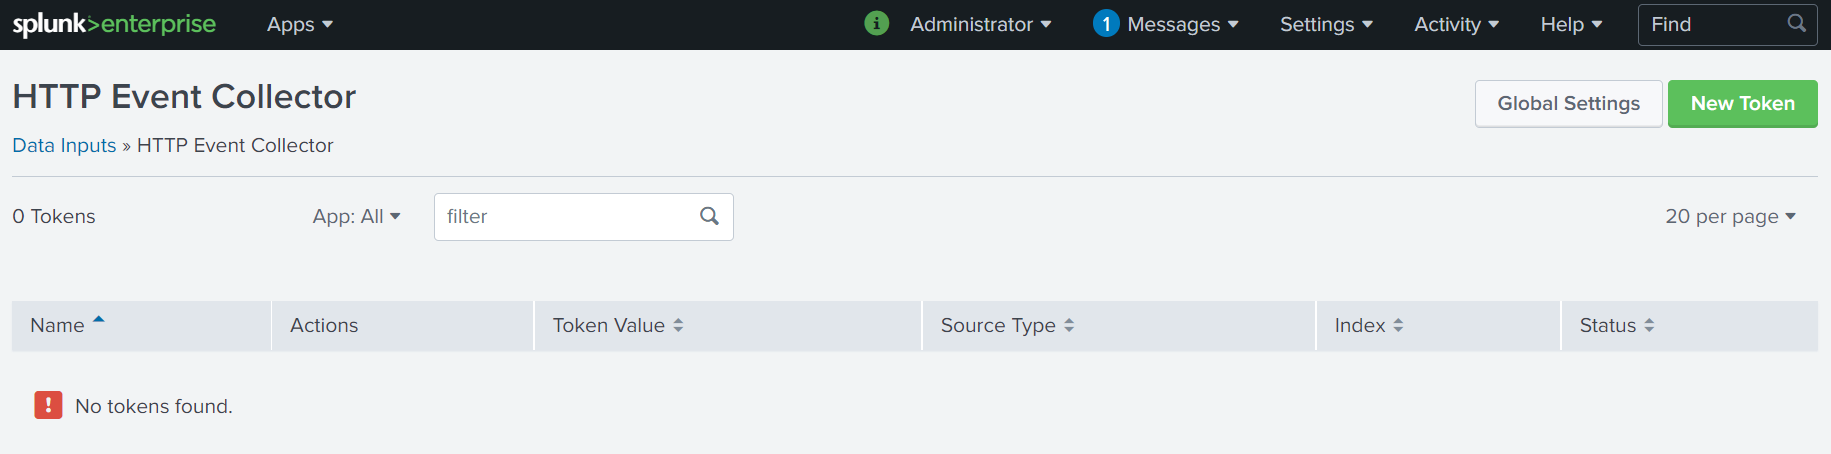
- Set a
nameof your choice. - All other settings are optional.

Input settings does, for example, allow to restrict access for this data input to certain indexes. Any of these settings may be relevant for your environment. The function of the deviceTRUST reports will not be affected by setting them.
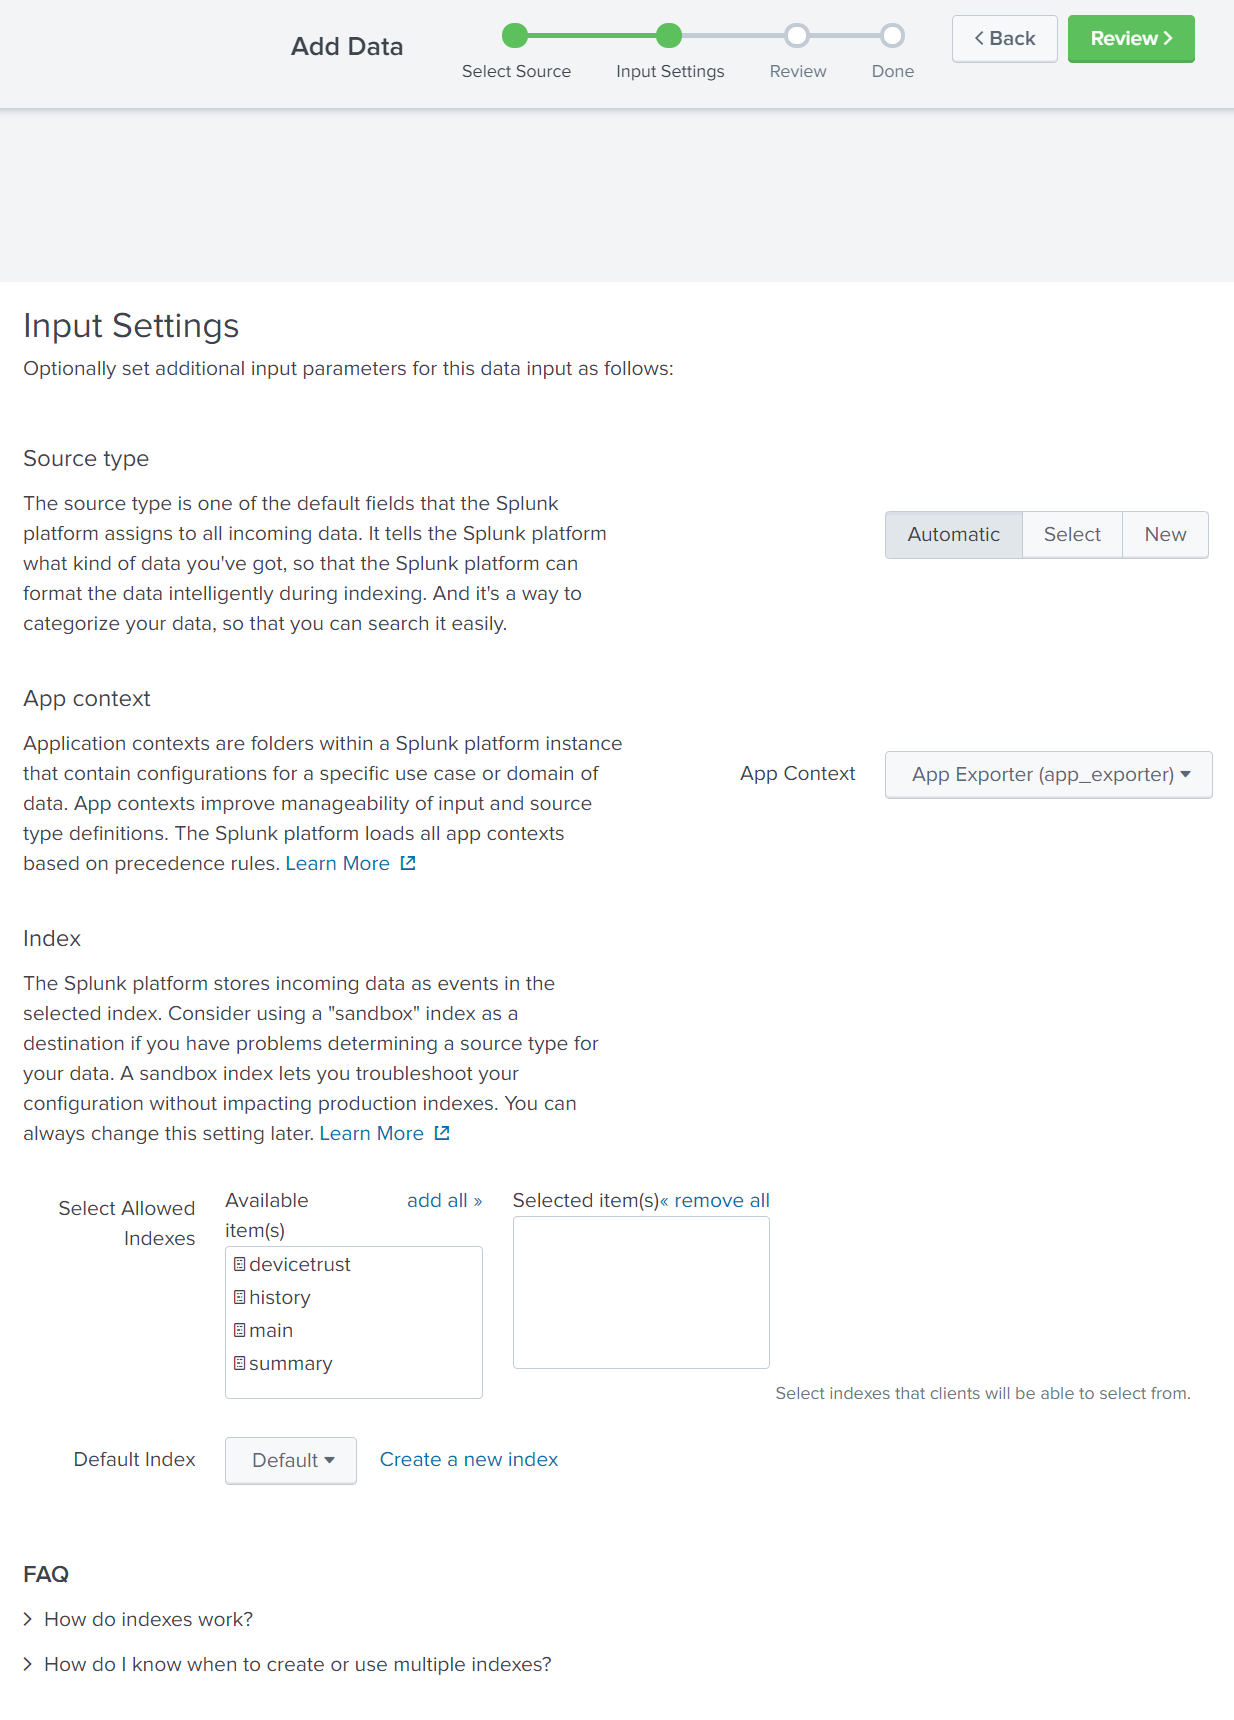
- Review the Settings.
- Click
Submit.
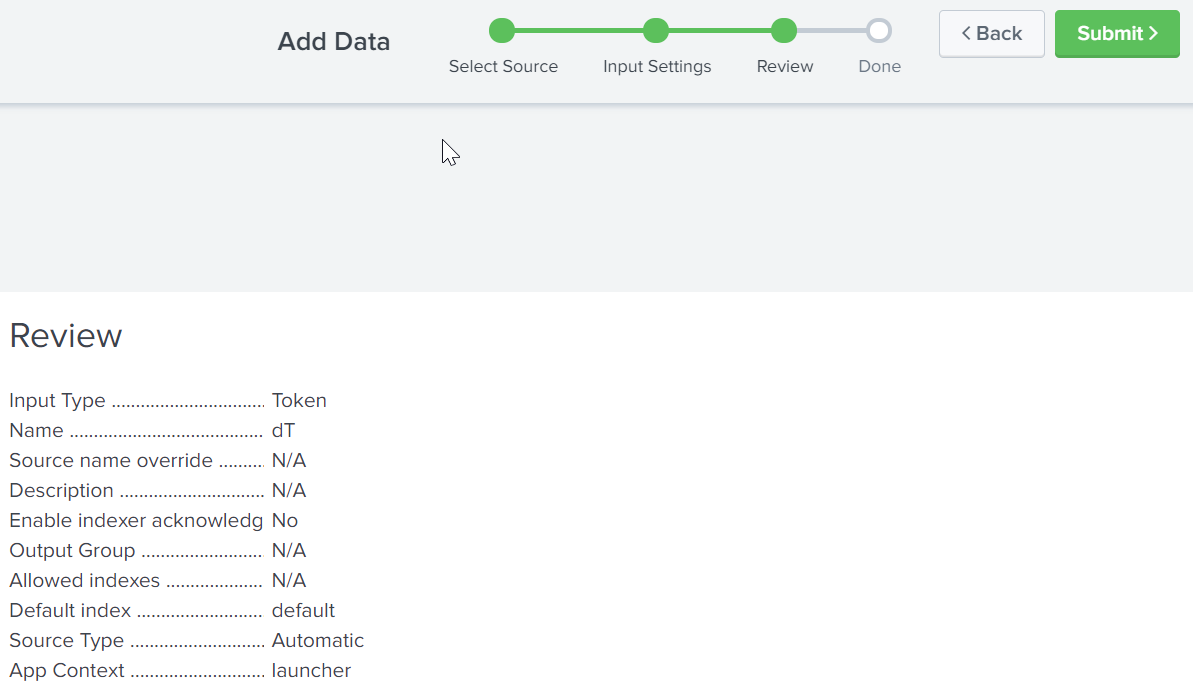
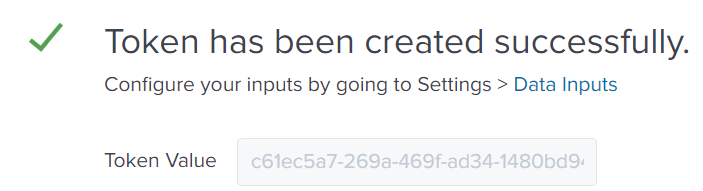
- The created token is shown.
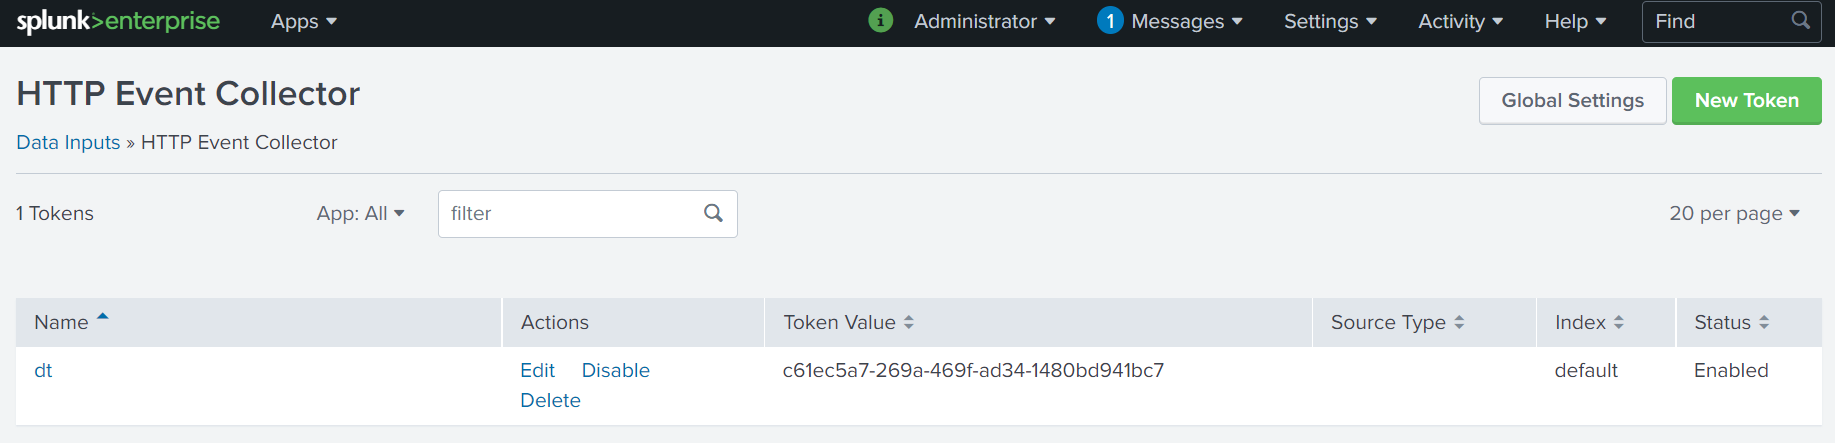
- The created token is also be displayed in the token overview page.
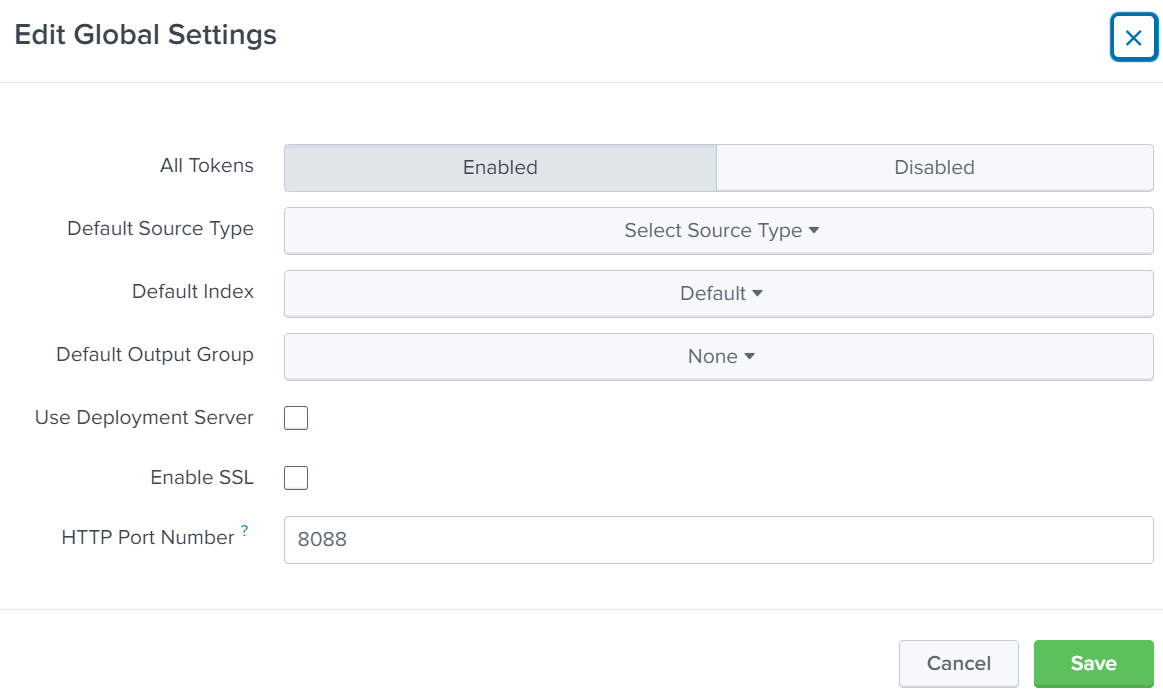
Additionally, the http input method has to be configured. In the most basic configuration, we make sure SSL is not active and all tokens are enabled.
These settings may differ in your environment. The function of the deviceTRUST reports will not be affected by setting them accordingly.
- Open your splunk management GUI and navigate to
Settings\Data Inputs\HTTP Data Collector - Click
Global Settings - Set
All Tokensto Enabled. - Set
Enable SSLto Off.
Step 3: Importing the Splunk app
Step 3.1: Downloading the Splunk app
The deviceTRUST reports are delivered as Splunk apps. The apps is available from the deviceTRUST GitHub repository.
- Navigate to the repository and find the Splunk apps.
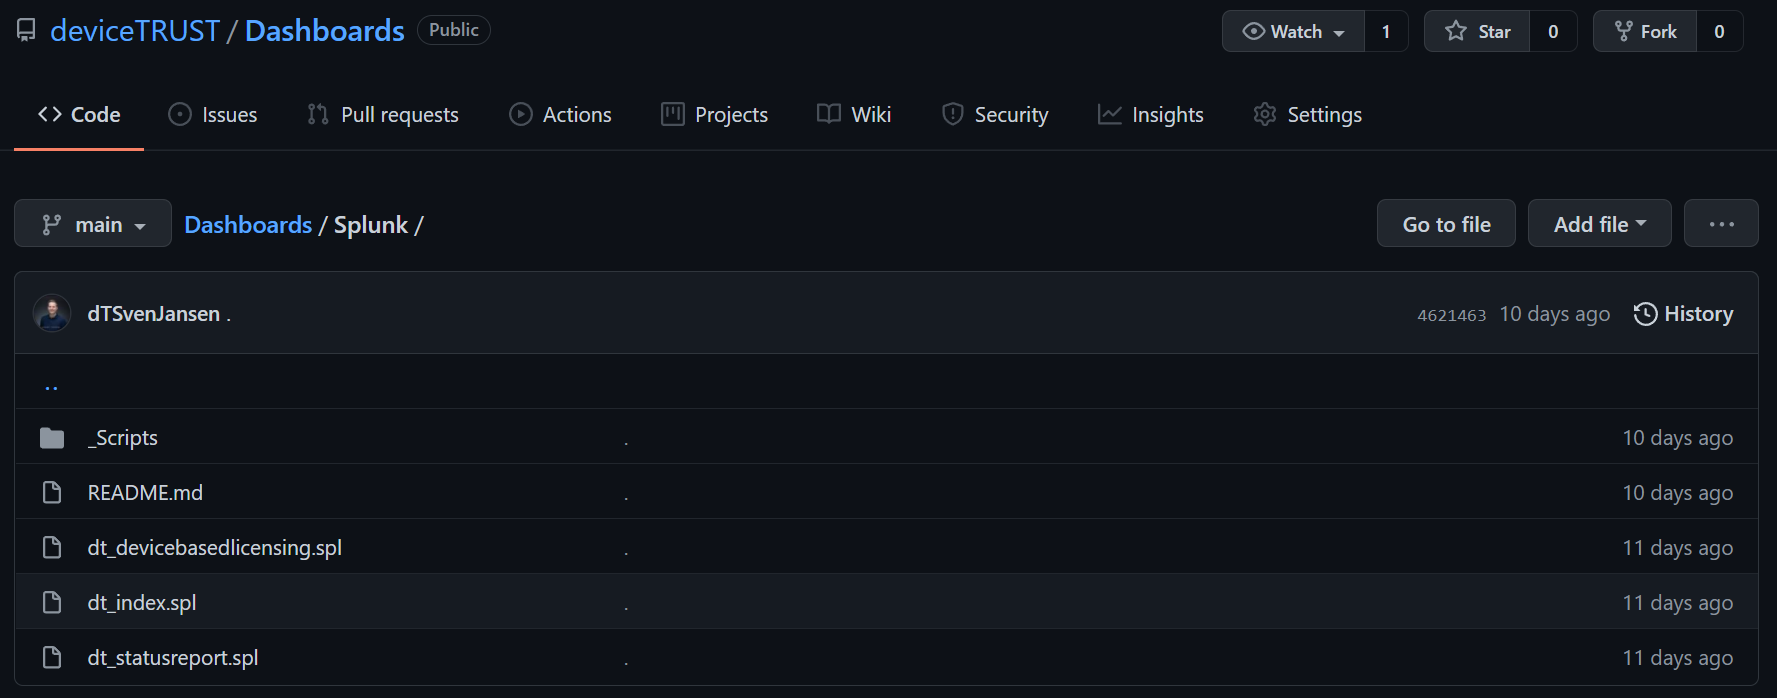
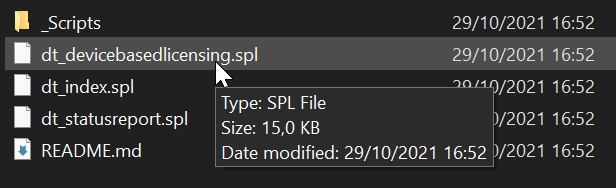
- The apps are provided as “spl” files which should be downloaded.
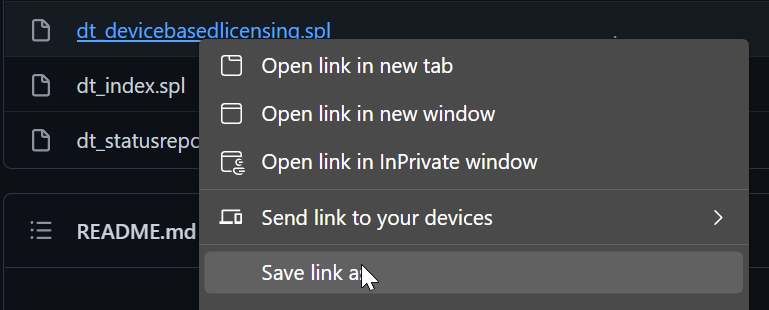
- Alternatively the “spl” files can be synchronized via the GIT command line.
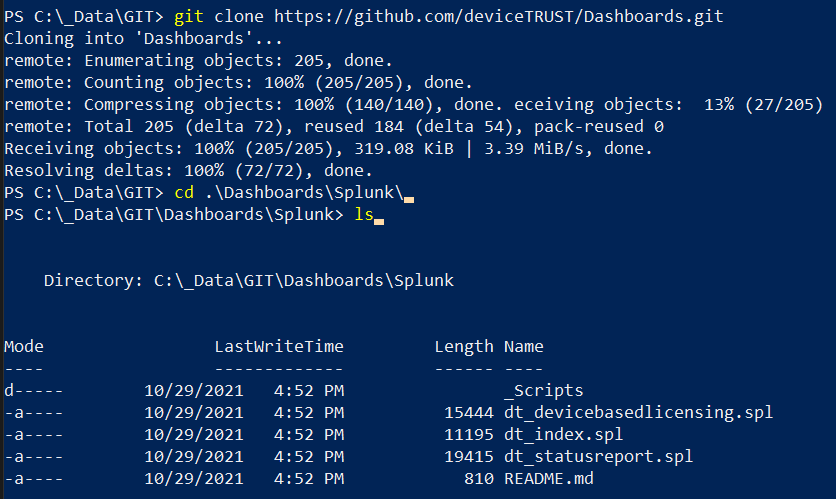
- With the apps available locally, they can be imported into Splunk.

Step 3.2: Installing the Splunk app
All three deviceTRUST apps are installed the same way. Thus, the app installation is described by using one example.
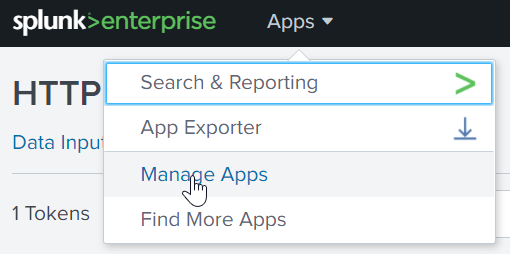
- Open your Splunk management console.
- Click
Manage Appsin the apps menu.
- Click
Install app from file.

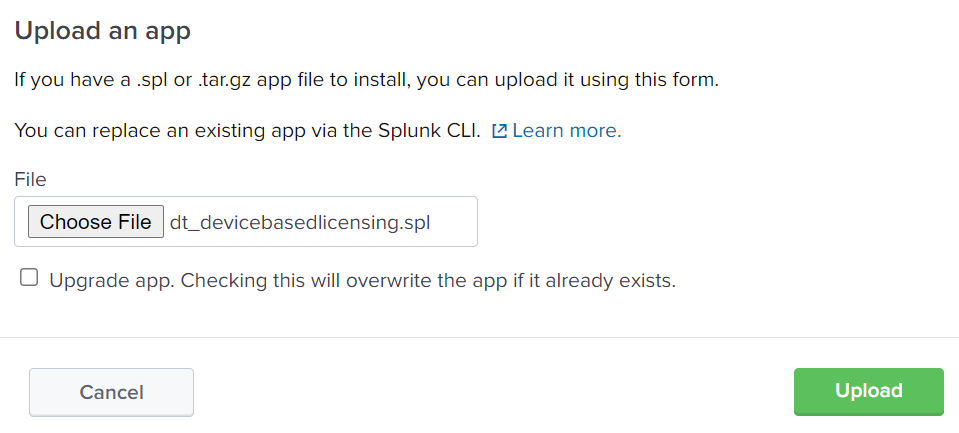
- Click
Choose File.

- Select your app file.
- Confirming your selection.
- Optionally select to upgrade apps, if applicable.
- Click
Upload.
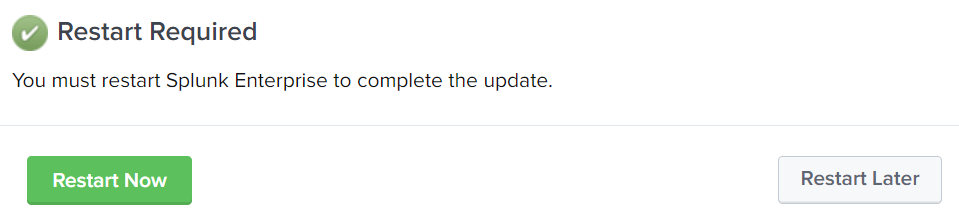
- Splunk will ask to restart the service. This is only required after importing the last app.
- Choose
Restart NoworRestart Lateraccordingly.
- The menu
Apps\Manage Appsdisplays all apps that are installed in your Splunk environment.

Step 4: Configuring deviceTRUST
After the the index has been created, the data input object added and all apps have been imported, Splunk is ready to accept, store and compute data for the deviceTRUST reports.
As both reports Device-Based Licensing and Status Report differ in their details, both are described here separately.
Step 4.1: The Device-Based Licensing Report
This step describes the configuration to be added to the deviceTRUST Console to send Device-Based Licensing data to Splunk.
The integrated templates contain all elements that are required to fully configure the agent for the Device-Based Licensing of five example applications. These five example applications can be easily edited for your own applications, or cloned to represent new applications. The elements are contexts, actions, messages and settings.
- Open the
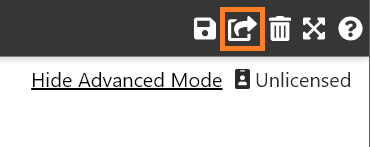
deviceTRUST Console. - Click
Sharingin the top right menu. You may need to clickShow Advanced Viewif this button is not visible.
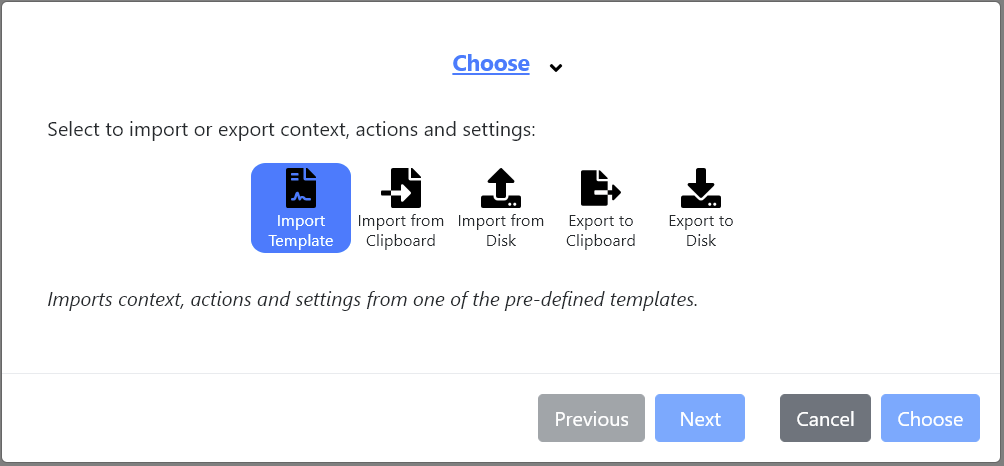
- Select
Import Template
- The report
Device-Based Licensingcan be found within the template categoryLicense CompliancewhenRemotingis selected.
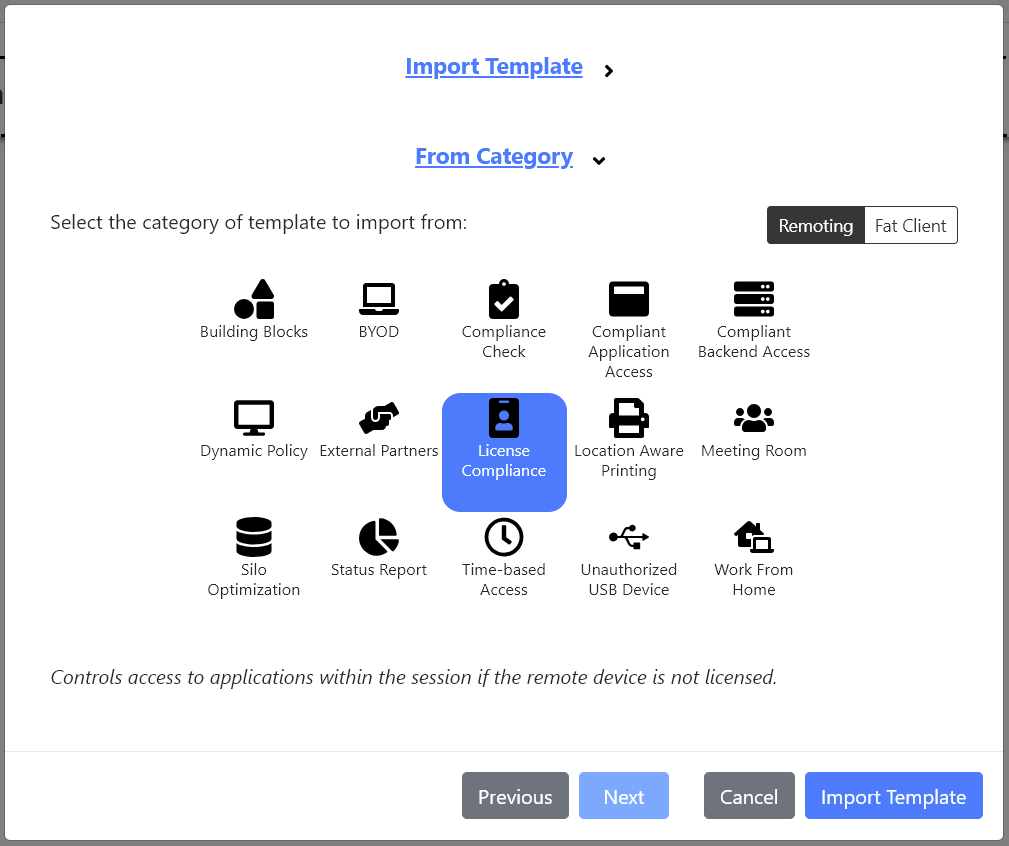
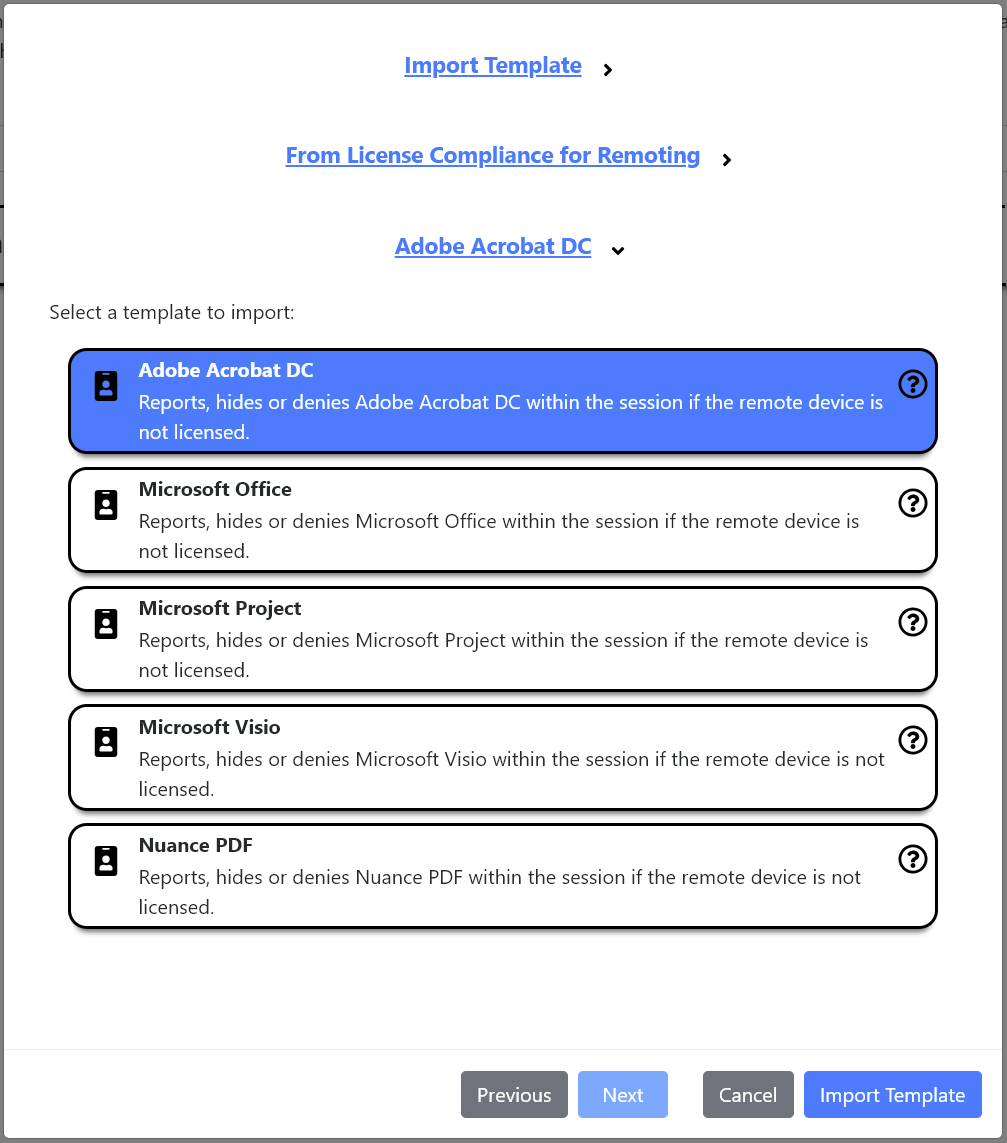
- The category contains templates for different example applications. We use
Adobe Acrobat DCas an example here.
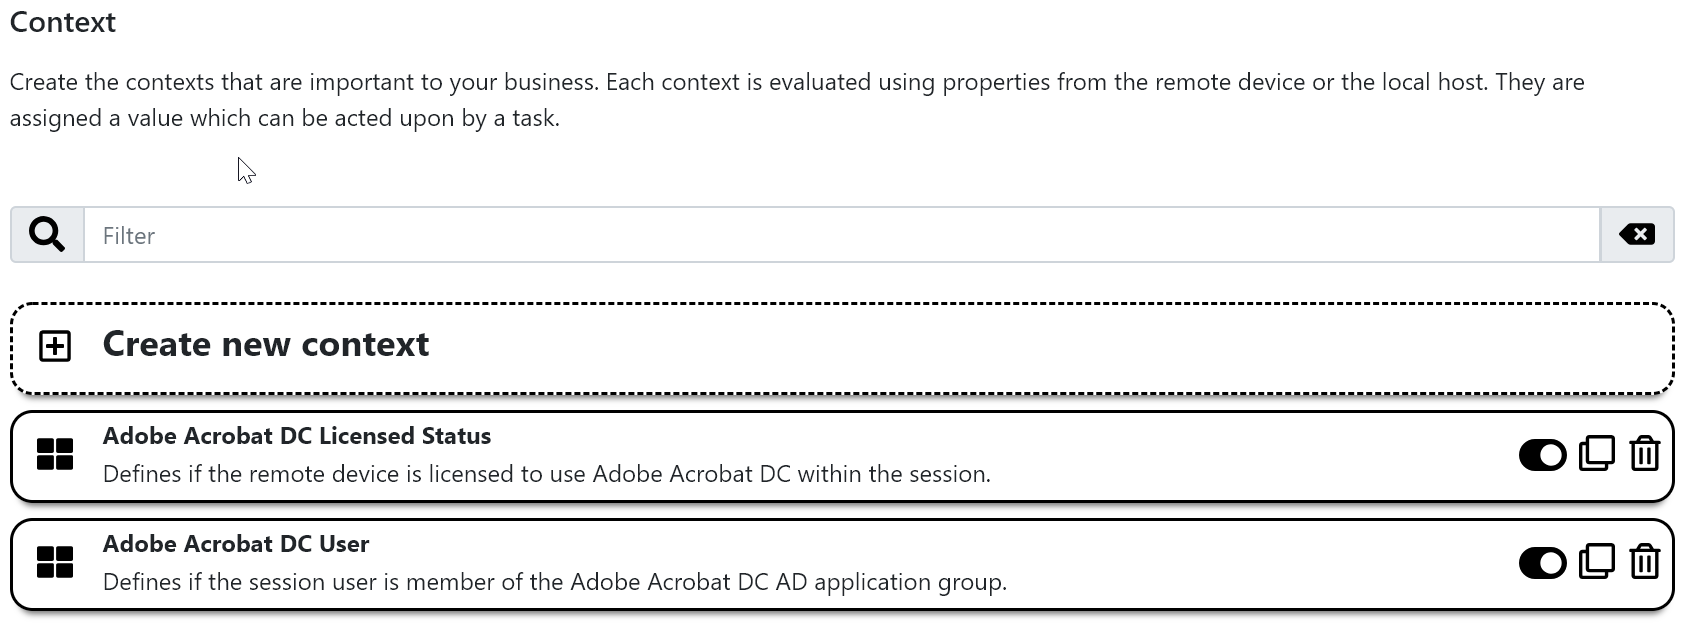
Two contexts are included within the template:
-
Adobe Acrobat DC Licensed Statusto evaluate the device license status. -
Adobe Acrobat DC Userto define if the accessing user is licensed to use the software.
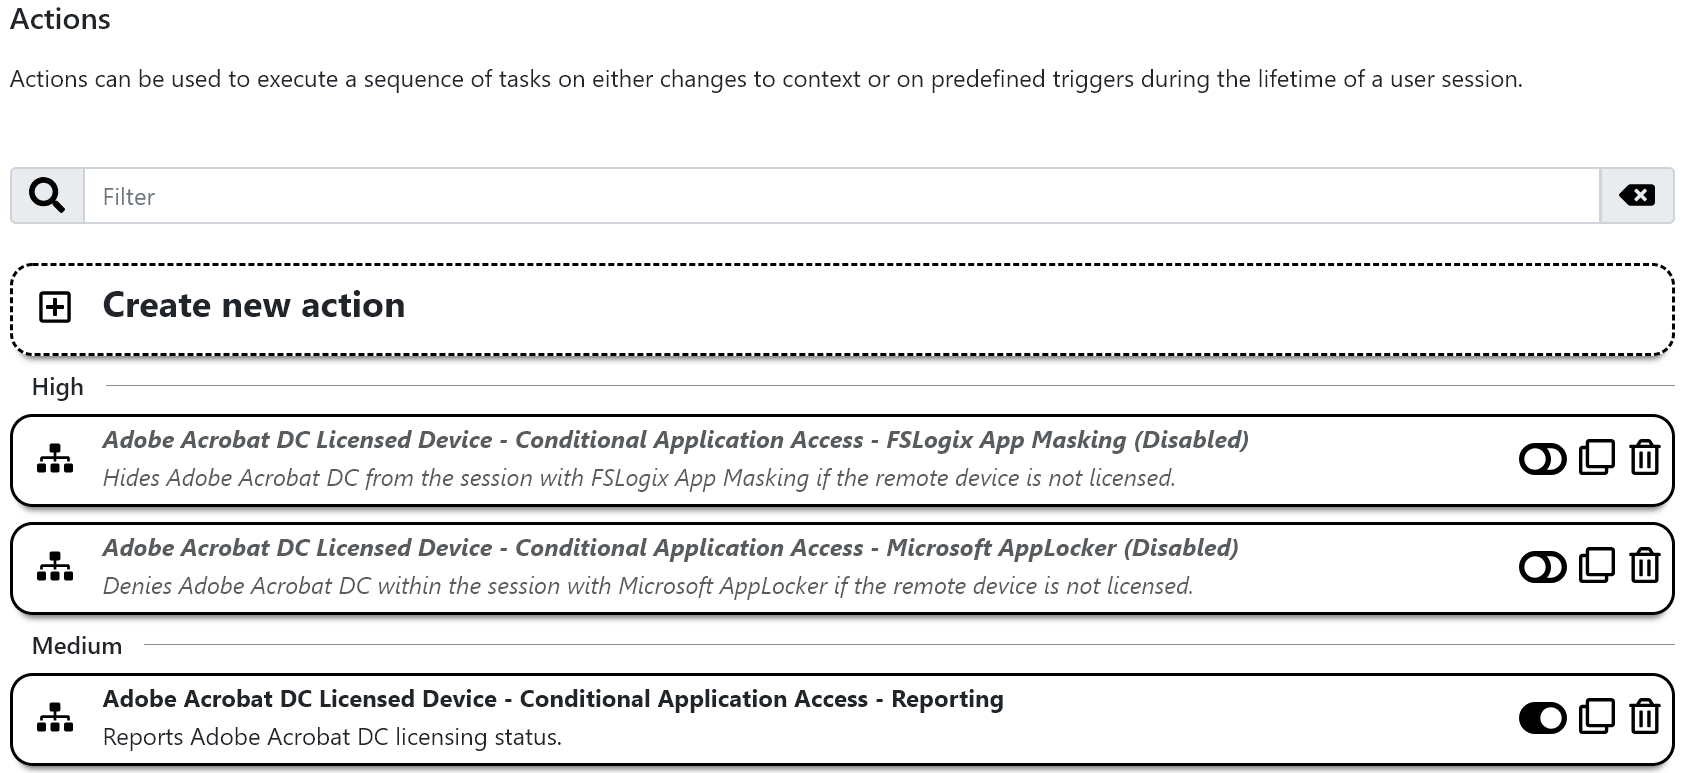
Three actions are included within the template:
-
Adobe Acrobat DC Licensed Device - Conditional Application Access - FSLogix App Maskingis used for application control viaFSLogix App Maskingand can be ignored or deleted for the reporting use case. -
Adobe Acrobat DC Licensed Device - Conditional Application Access - Microsoft AppLockeris used for application control viaMicrosoft AppLockerand can be ignored or deleted for the reporting use case. -
Adobe Acrobat DC Licensed Device - Conditional Application Access - Reportingthe only action required for reporting.
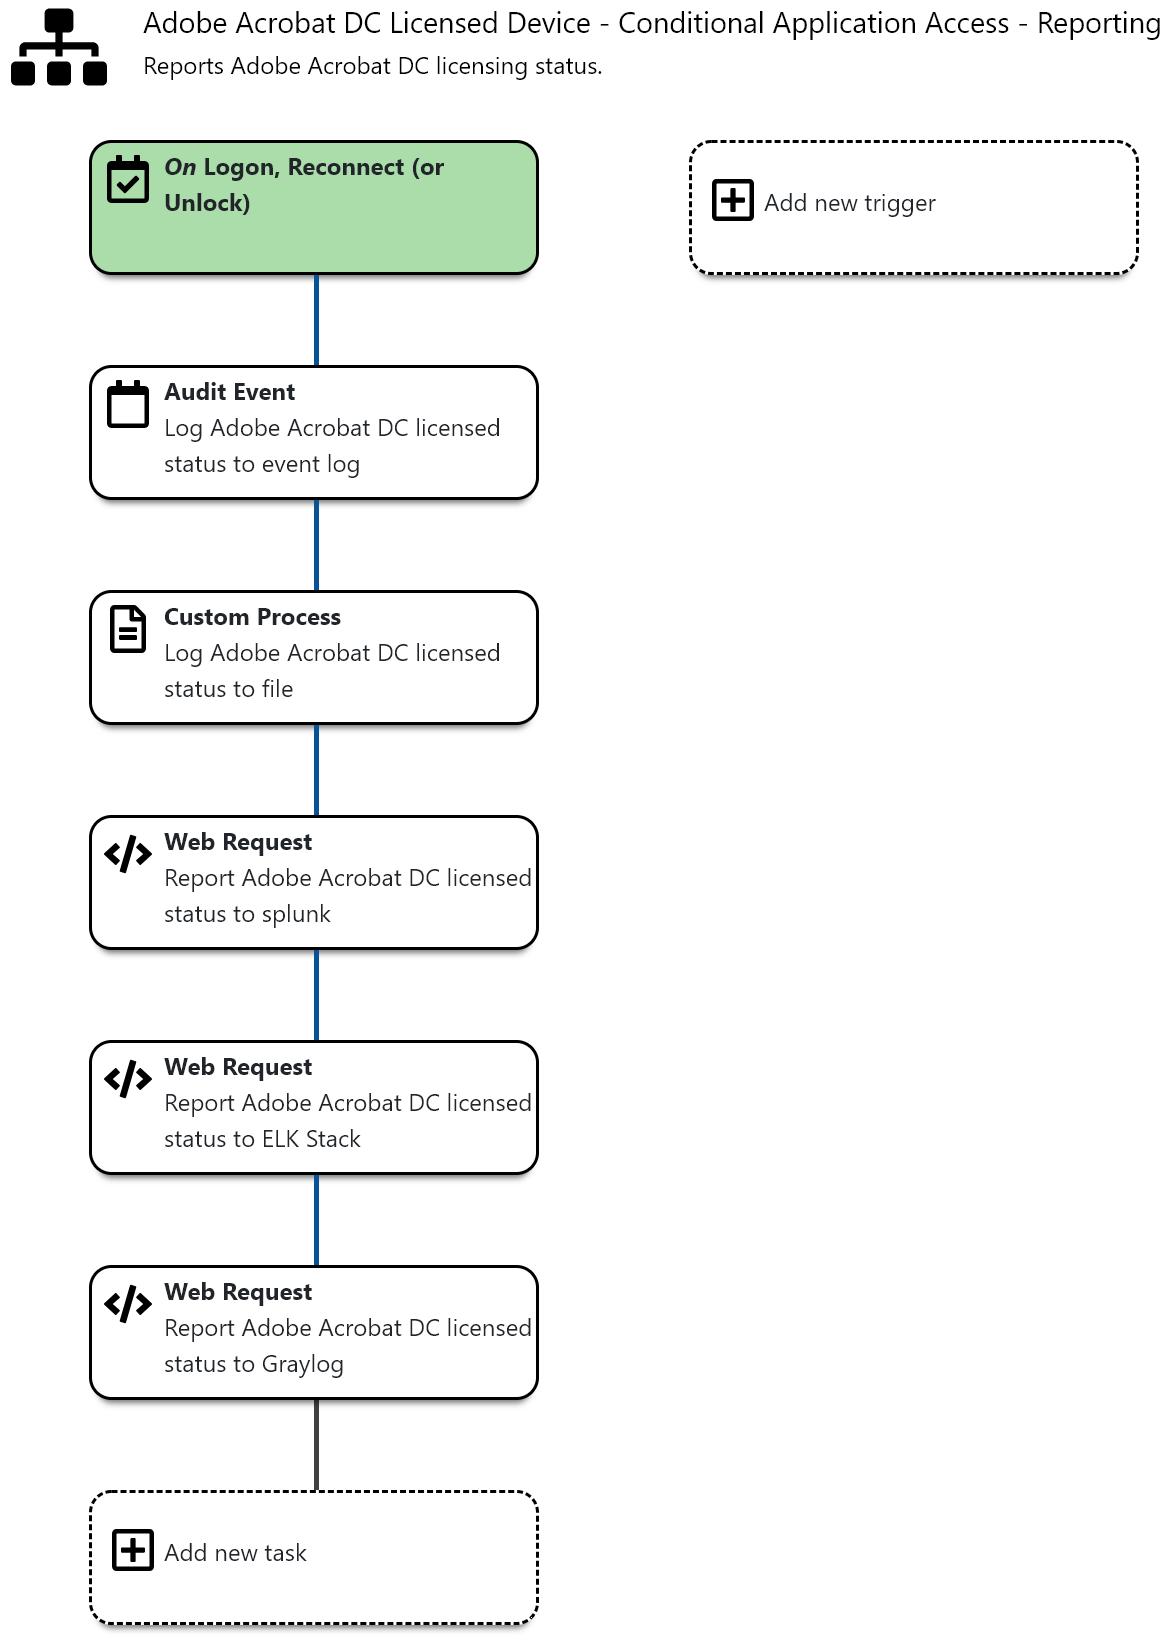
- The action contains uses the
Web Requesttask to send data to Splunk. TheAudit Event,Custom Processand also theWeb Requesttasks for ELK Stack and Graylog can be deleted, as we are configuring Splunk here.
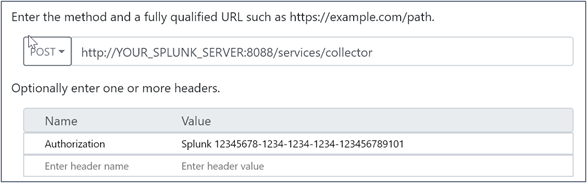
- The Splunk
Web Requesttask needs to be edited to suit your environment. If you do not require SSL transport, you’ll only have to configure yourserver’s fqdnand theauthorization token(http data input). Make sure to leave the keywordsplunkand only add/change your authorization token’s GUID.
The use case has successfully been configured. deviceTRUST will now send Device-Based Licensing data on every access to the Splunk server. The data will be presented using dashboards.
Step 4.2: The Status Report
This step describes the configuration, that is to be added to the deviceTRUST console to send Status Report data to splunk.
Our integrated templates contain all elements that are required to fully configure the agent for the Device-Based Licensing of five example applications. The elements are contexts, actions, messages and settings.
- Open the deviceTRUST console and click
Sharingin the top right menu.
- Select
Import Template
- The
Status Reporttemplate can be found within the template categoryStatus ReportwhenRemotingis selected.
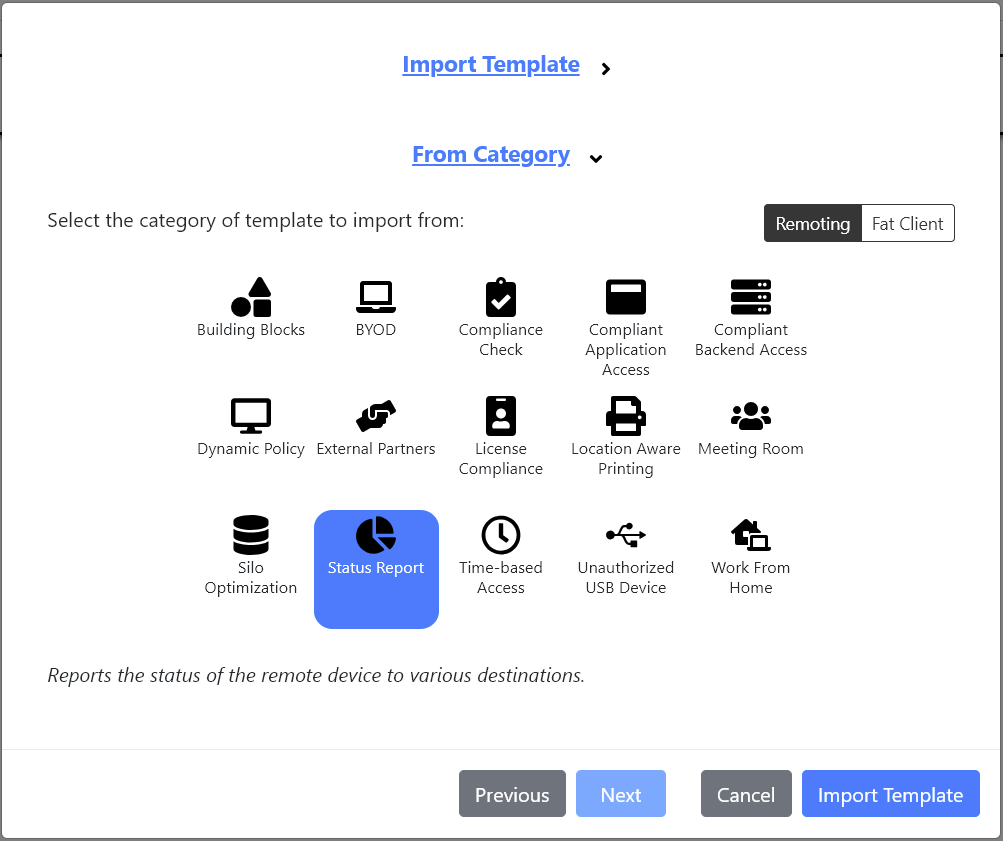
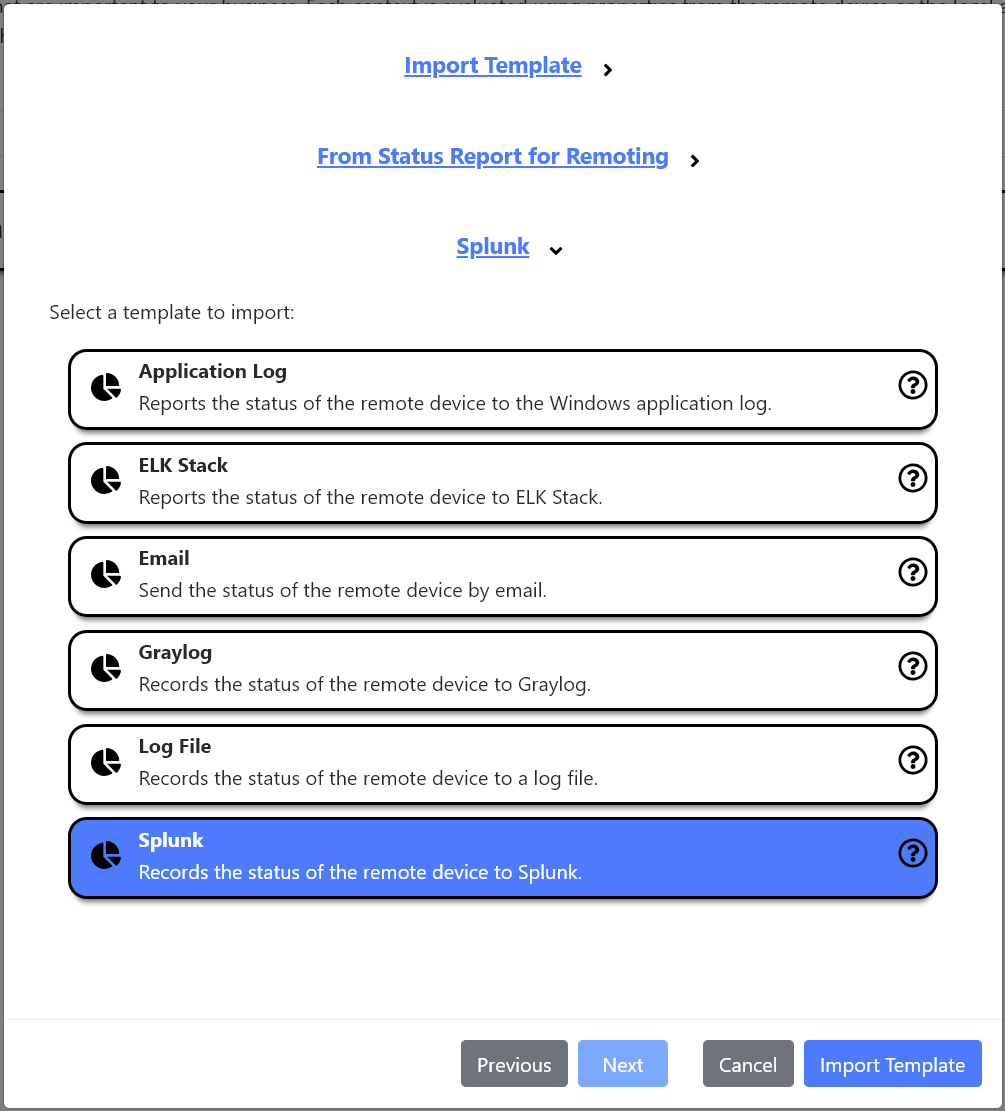
- This category contains templates for several ways of storing data. Choose
Splunk.
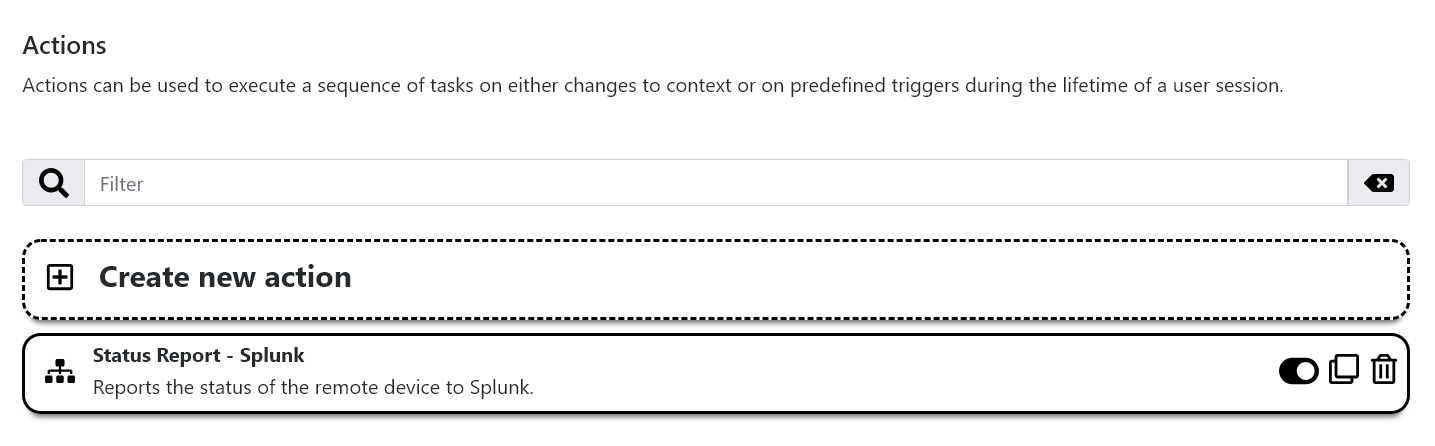
- The imported template consists of 50 contexts and one action.
- The Action
Status Report – Splunkcollects all relevant data and sends them over to Splunk.
- Sending data to Splunk is configured by using a
Web Requesttask.
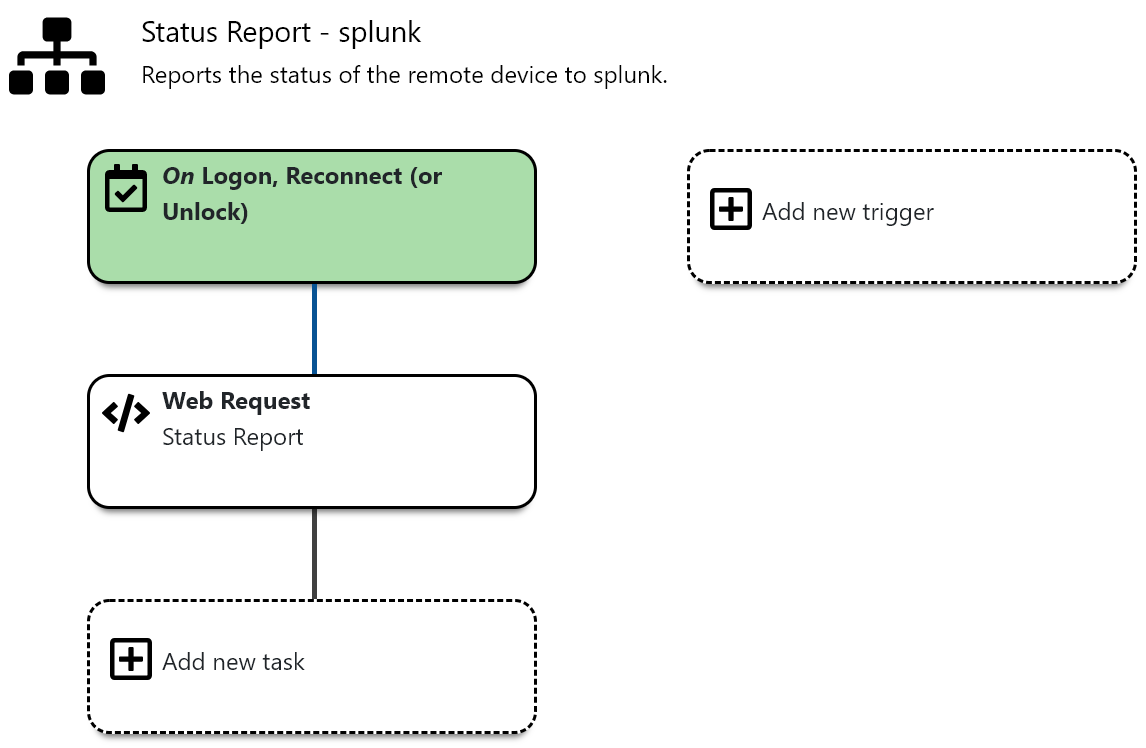
The Web Request task needs to be edited to suit your environment. If you do not require SSL transport, you’ll only have to configure your server’s fqdn and the authorization token (http data input). Make sure to leave the keyword splunk and only change your authorization token’s GUID.

The use case has successfully been configured. deviceTRUST will now send Status Report data on every access to the remoting platform to the splunk server. There, the data will be presented using dashboards.